
How To :: Coloring Easter Eggs with Grandma
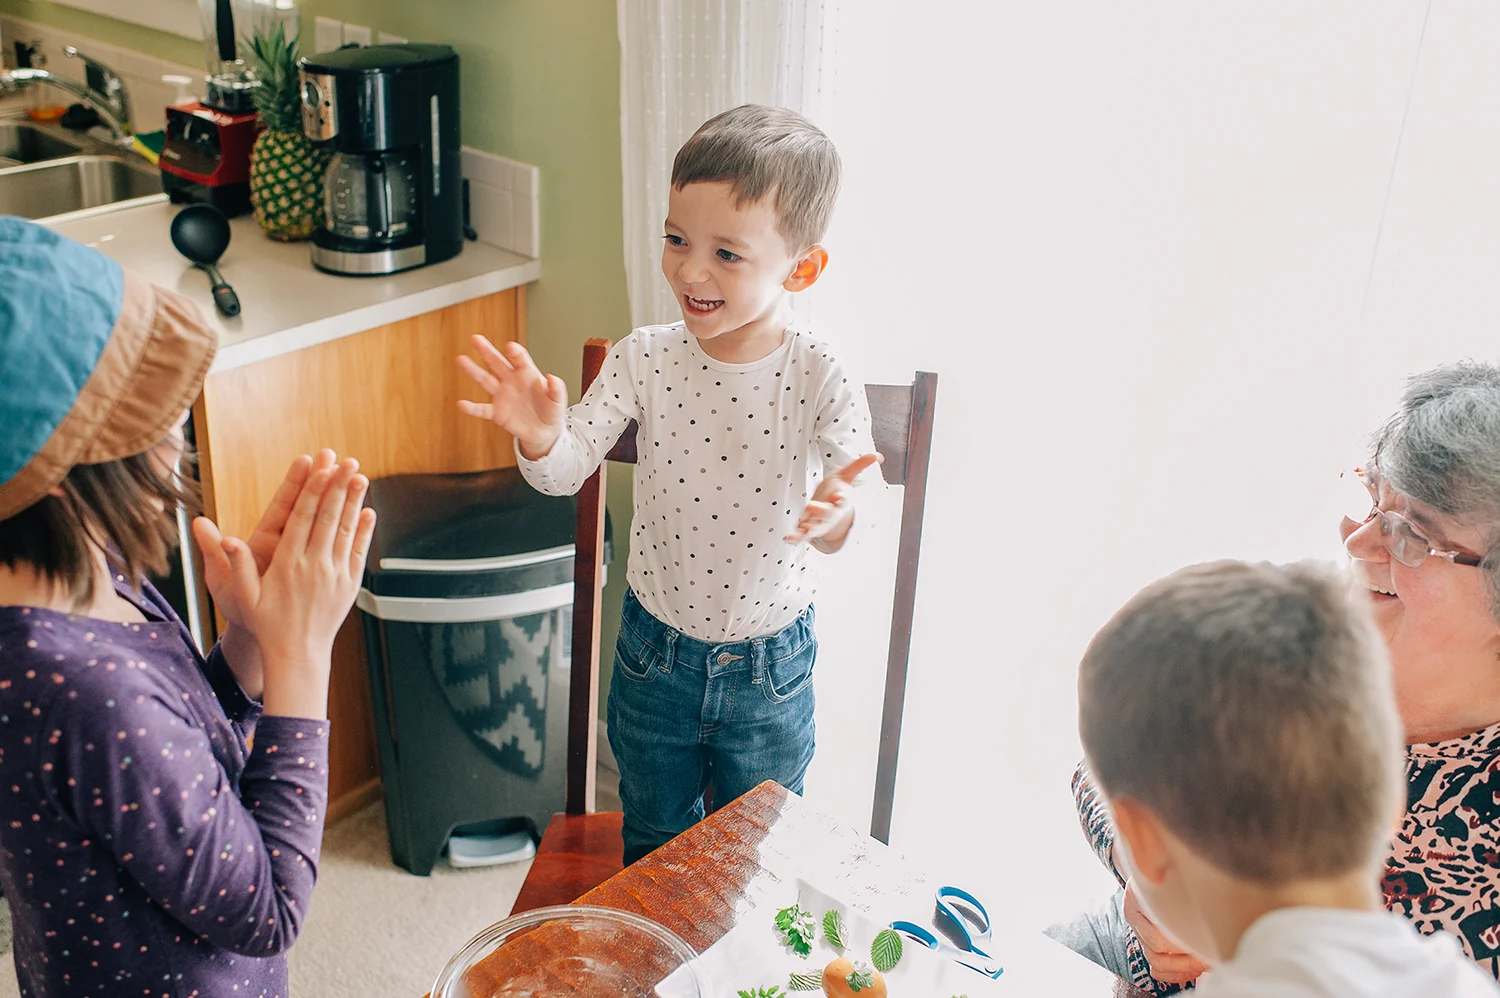
Several years ago I posted about how we've been dyeing and decorating Easter eggs in my family, ever since I remember. It is a natural, pretty simple process, and a lot of fun. Just ask my kids :)
I will re-post the steps here, along with pictures I took of my mom and the kids last year while coloring our Easter eggs. For this year's Easter eggs we're getting together on Saturday and will try to dye blue ones too, using red cabbage. Last year's 'blue eggs' experiment wasn't too successful so we'll change a few things and hope for much more intense colors - more vinegar, salt and longer simmer time, and white eggshells this year. Will keep you posted ;)
Enjoy the process, if you decide to try the method this year!
It might be worth checking out the original post as those pictures are a little more focused on the process than these.

I grew up in Romania, in Eastern Europe - somewhere in Transylvania.
Coloring eggs with dry red and yellow onion peels is one of the things I remember vividly about our every Easter preparation. The fun part for us kids was always the hunt for herbs and leaves. Mom did most of the work through the process, until my 2 younger brothers and myself grew older and could help more.
A symbol of new life, and always a part of our Easter celebrations, dyeing Easter eggs using this onion peels technique brings back such fond memories of growing up. It's something that I want to pass on to my children, and it makes me really happy that mom is excited to share and teach this tradition to them :)

WHAT YOU NEED:
eggs (brown and/or white)
a small grocery bag of dry onion skins from yellow and red onions - the darker the better! (I definitely prefer the red) - about 6 packed cups
freshly picked herbs and leaves or flowers for decoration
nylon stockings (to wrap the eggs in - individually)
string
scissors
a few tablespoons of white vinegar (and/or salt)
stainless soup pot or sauce pan
slotted spoon
strainer
olive oil (or other edible oil; or unsalted butter) - to polish the eggs at the end
BEFORE YOU GET STARTED:
• Carefully wash the eggs with lukewarm water and remove anything that might be clinging to the surface of the eggs.
• These instructions assume you start with raw eggs. The eggs are boiled after you decorate them, along with the onion skins.
• Each egg needs to be wrapped individually, so the leaf/grass blades/herbs/flower petals stay tight to the egg shell. That way the plants will be able to keep the dye color from penetrating the eggshell in the covered area, and you will have the pretty shape, at the end.
• The eggs taste normal, no onion flavor!
• You can use any kind of leaves - the kids went outside and picked some from the lawn. ...Clover leaves, small dandelion leaves, parsley, dandelion blooms - they'll work perfect!

RED ONION DRY SKIN DYED EASTER EGGS
1. Collect a small bag of red (and yellow) dry onion skins. Most often the local small grocery store will save the skins if you ask.
2. In a stainless pan or pot, place the onion skins and the white vinegar in 4-6 cups of water - depending on how many eggs you will be dyeing - and bring to a boil. You need enough water so all the eggs will be covered while boiling.
Lower the heat and simmer, covered, for about 20-30 minutes. If decorating and wrapping the eggs is taking longer, you can always turn off the heat and let it sit on the side, until you are ready to place the eggs in.
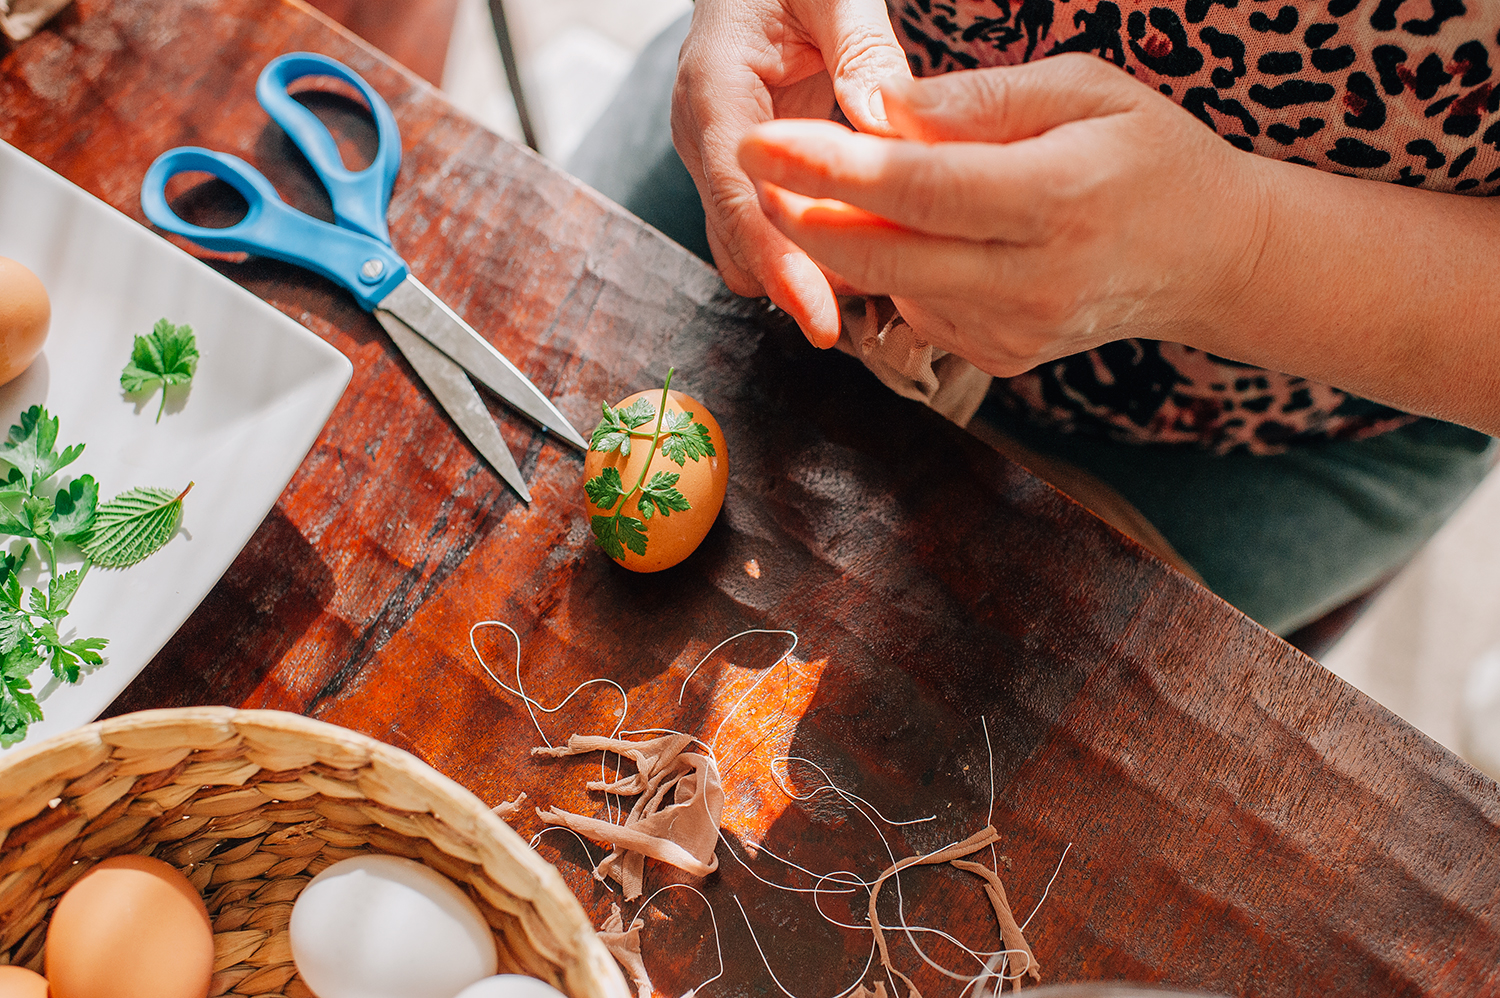
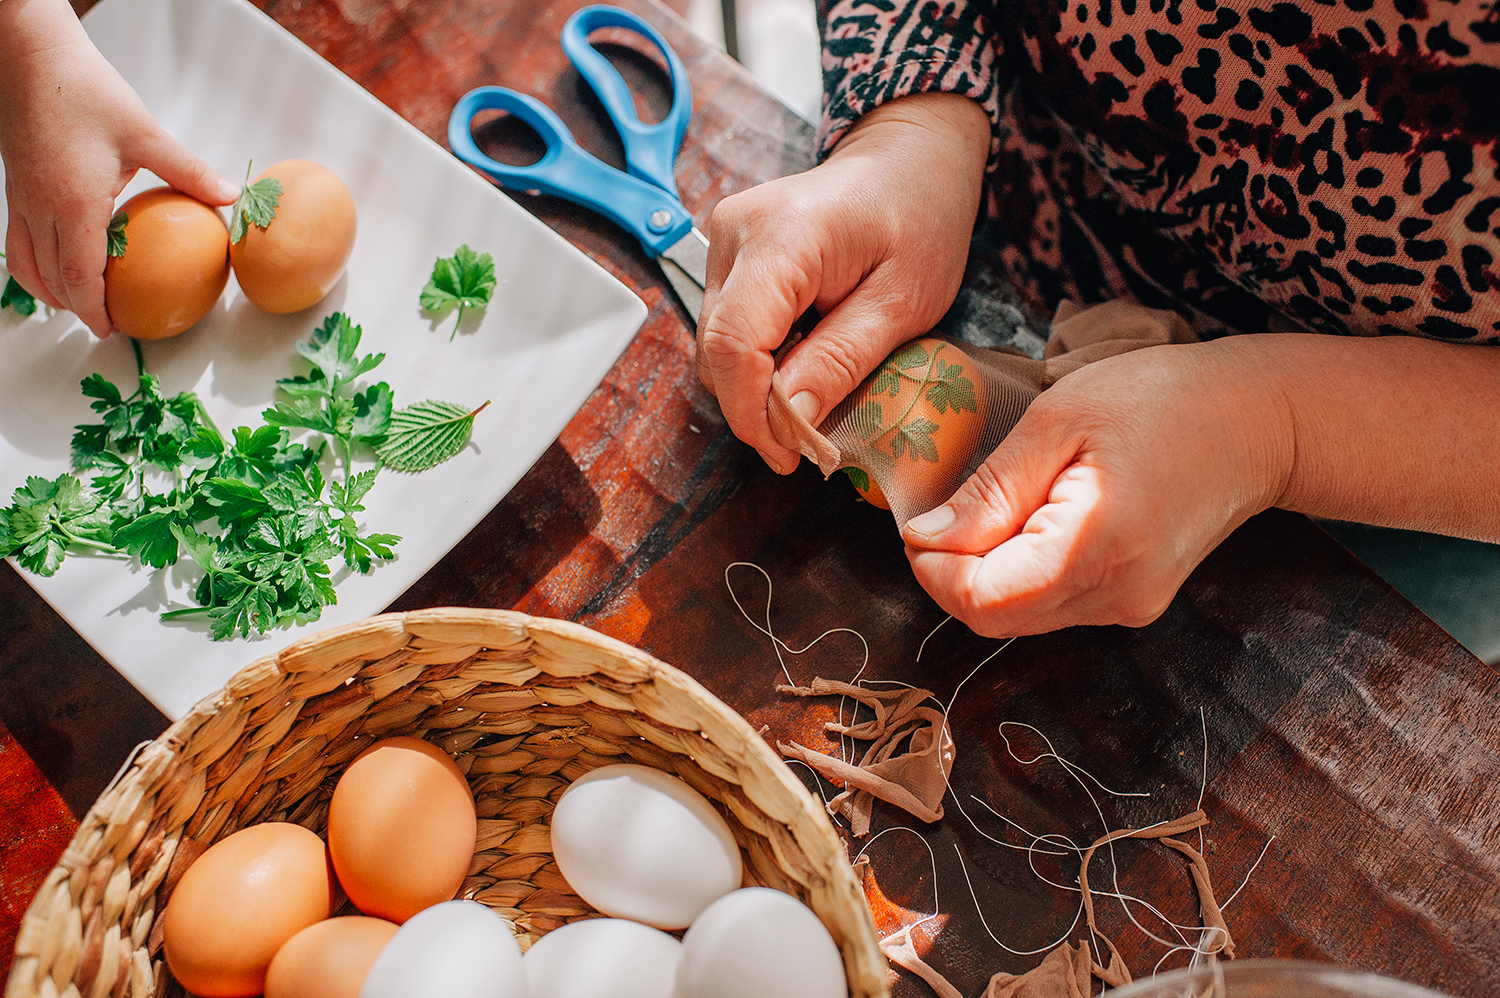
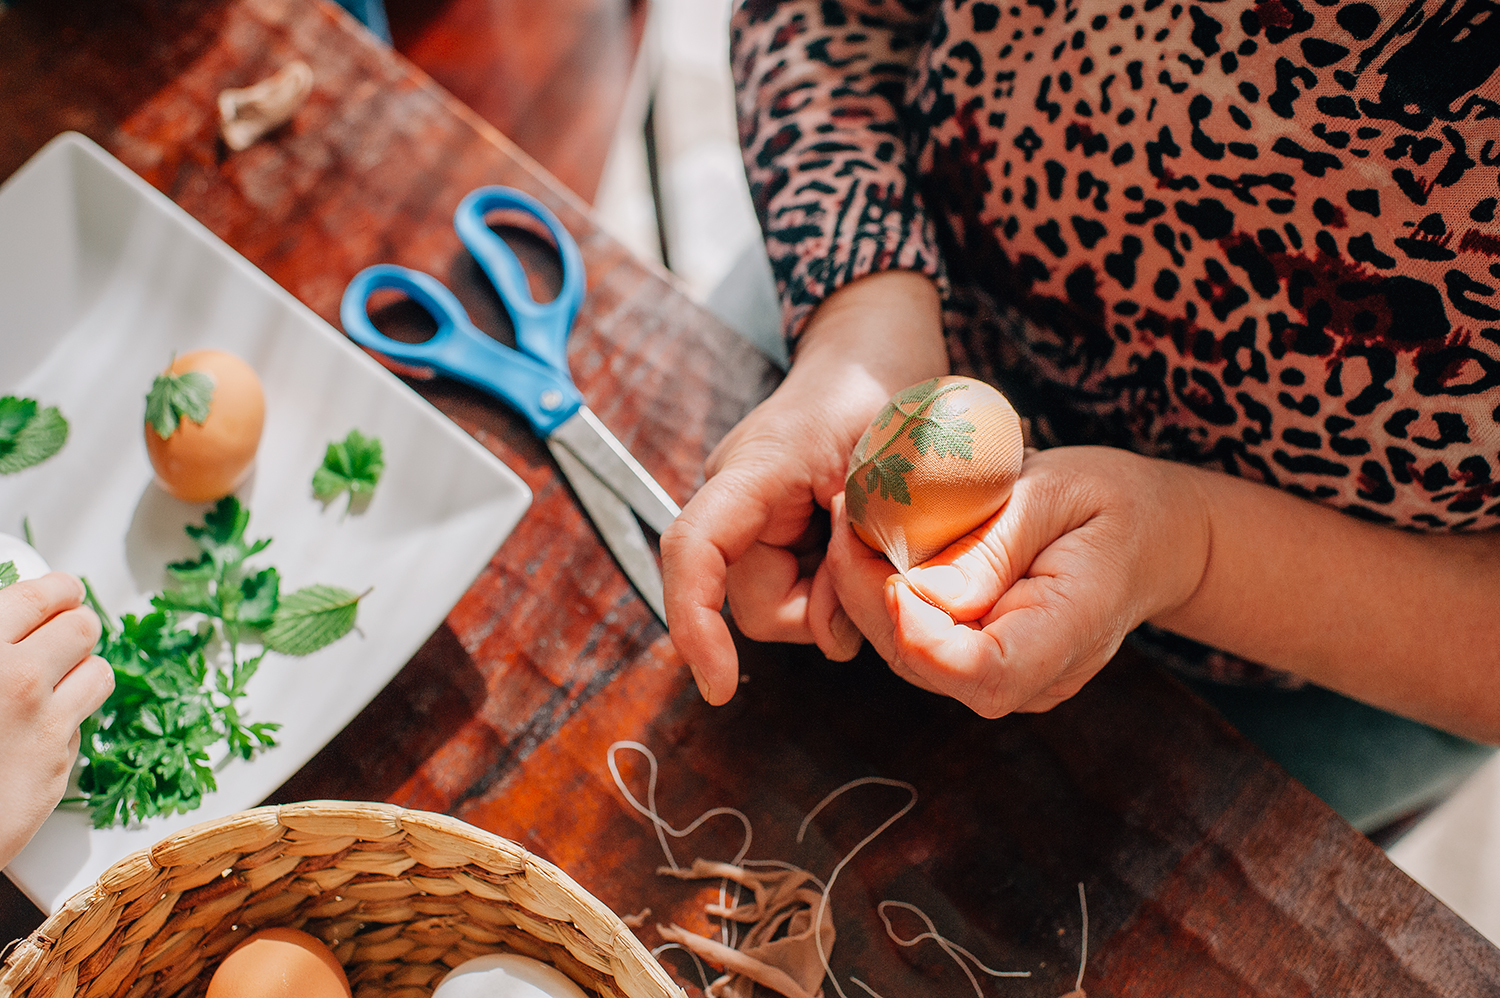
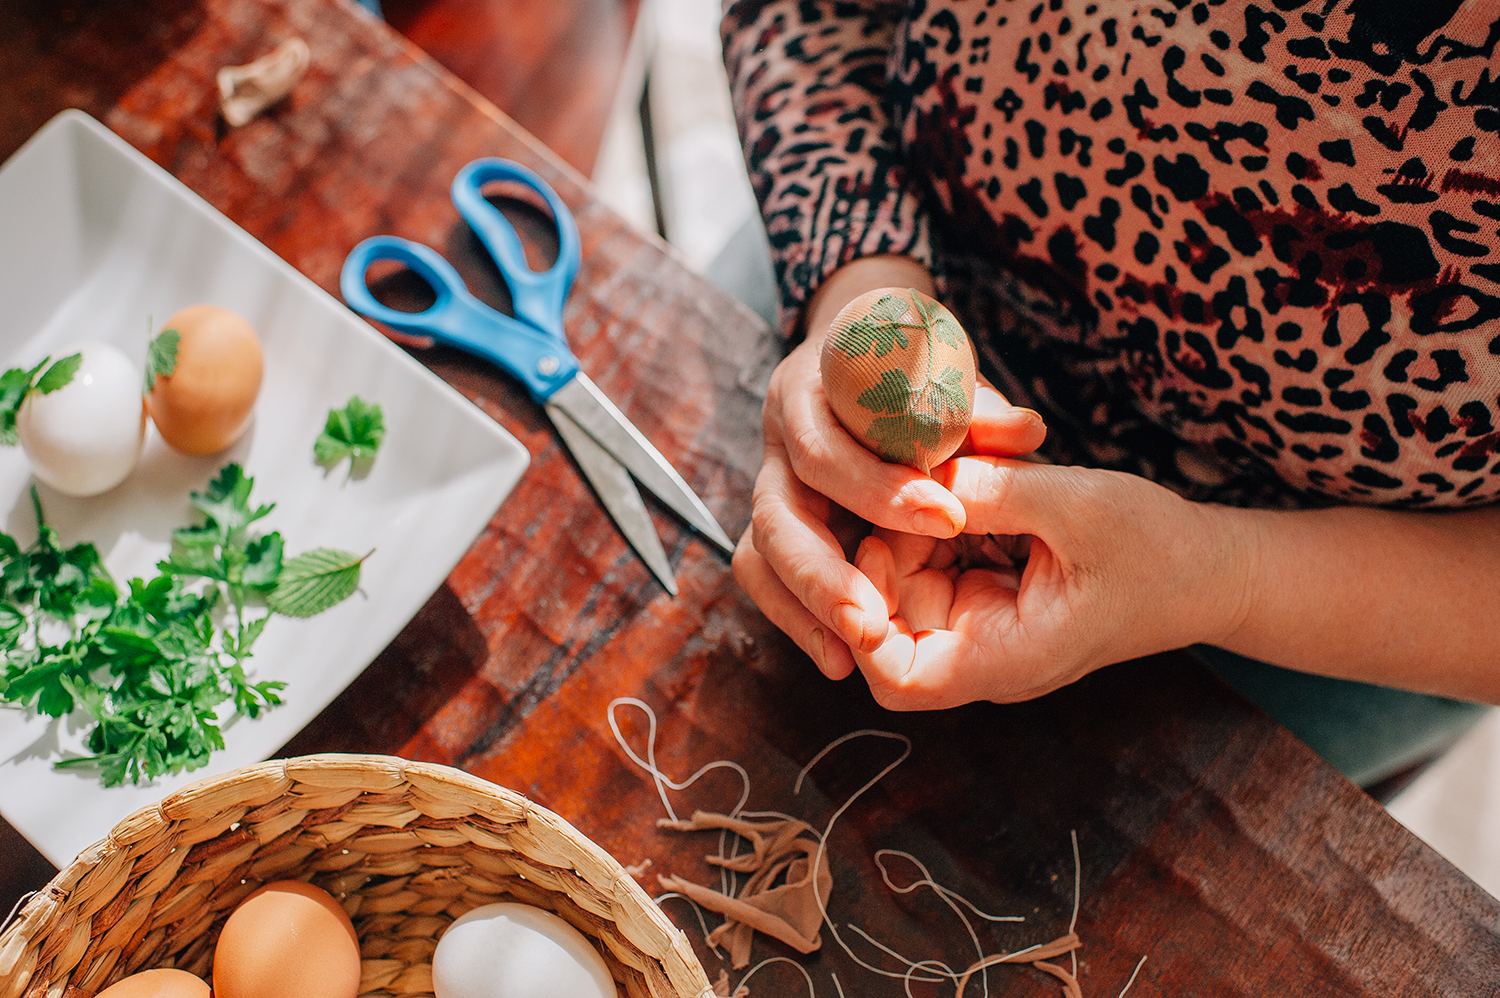
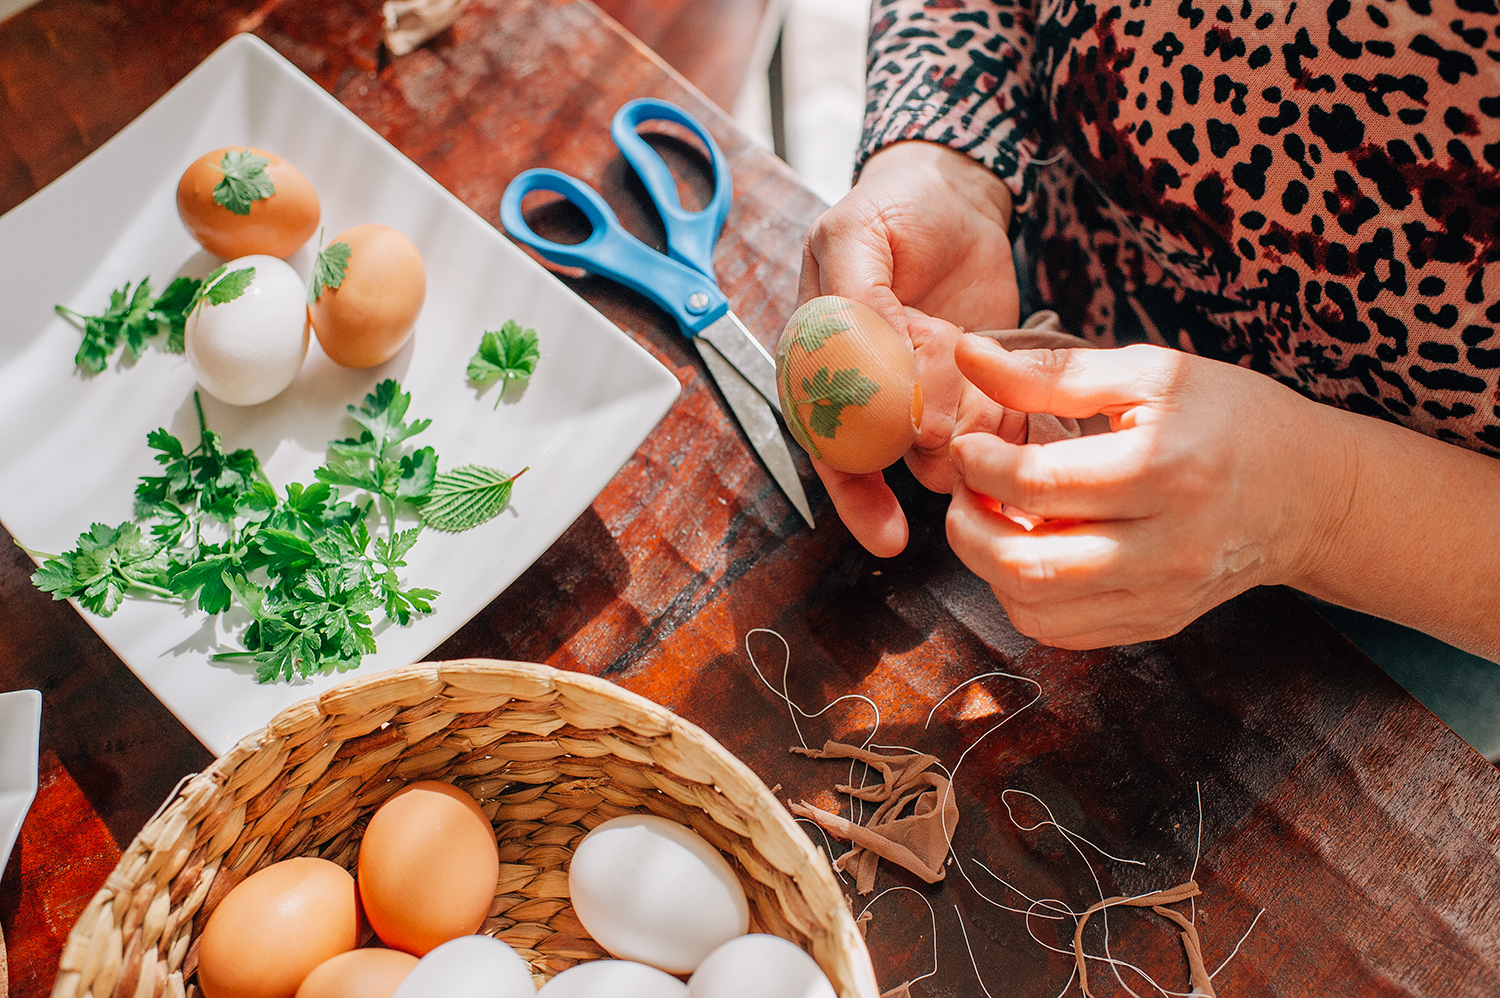
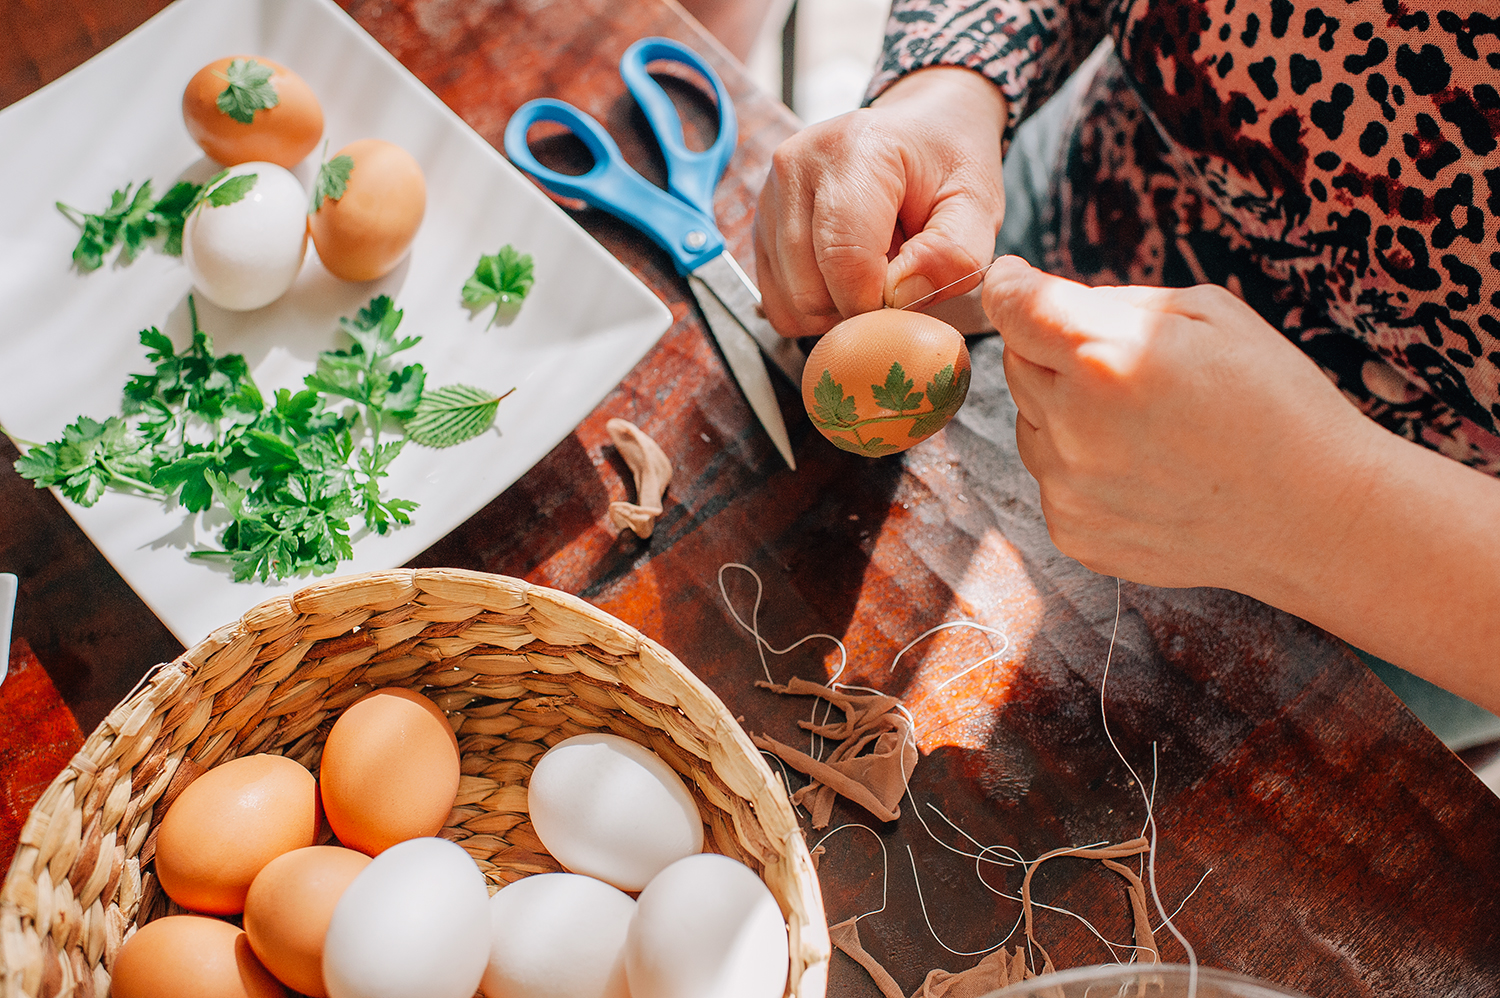
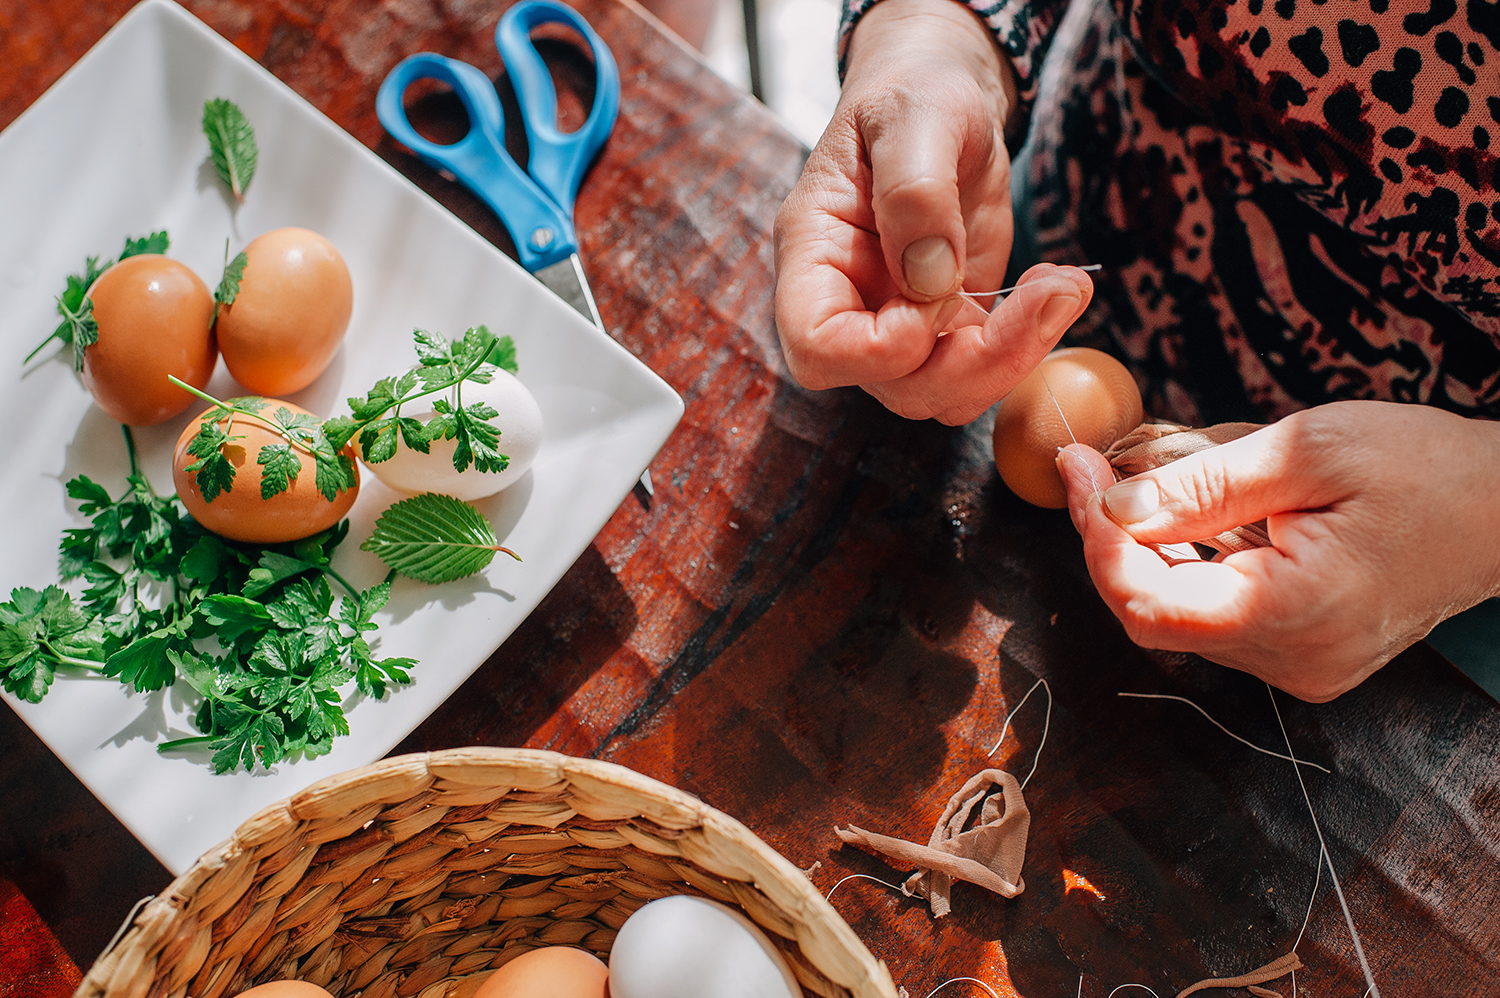
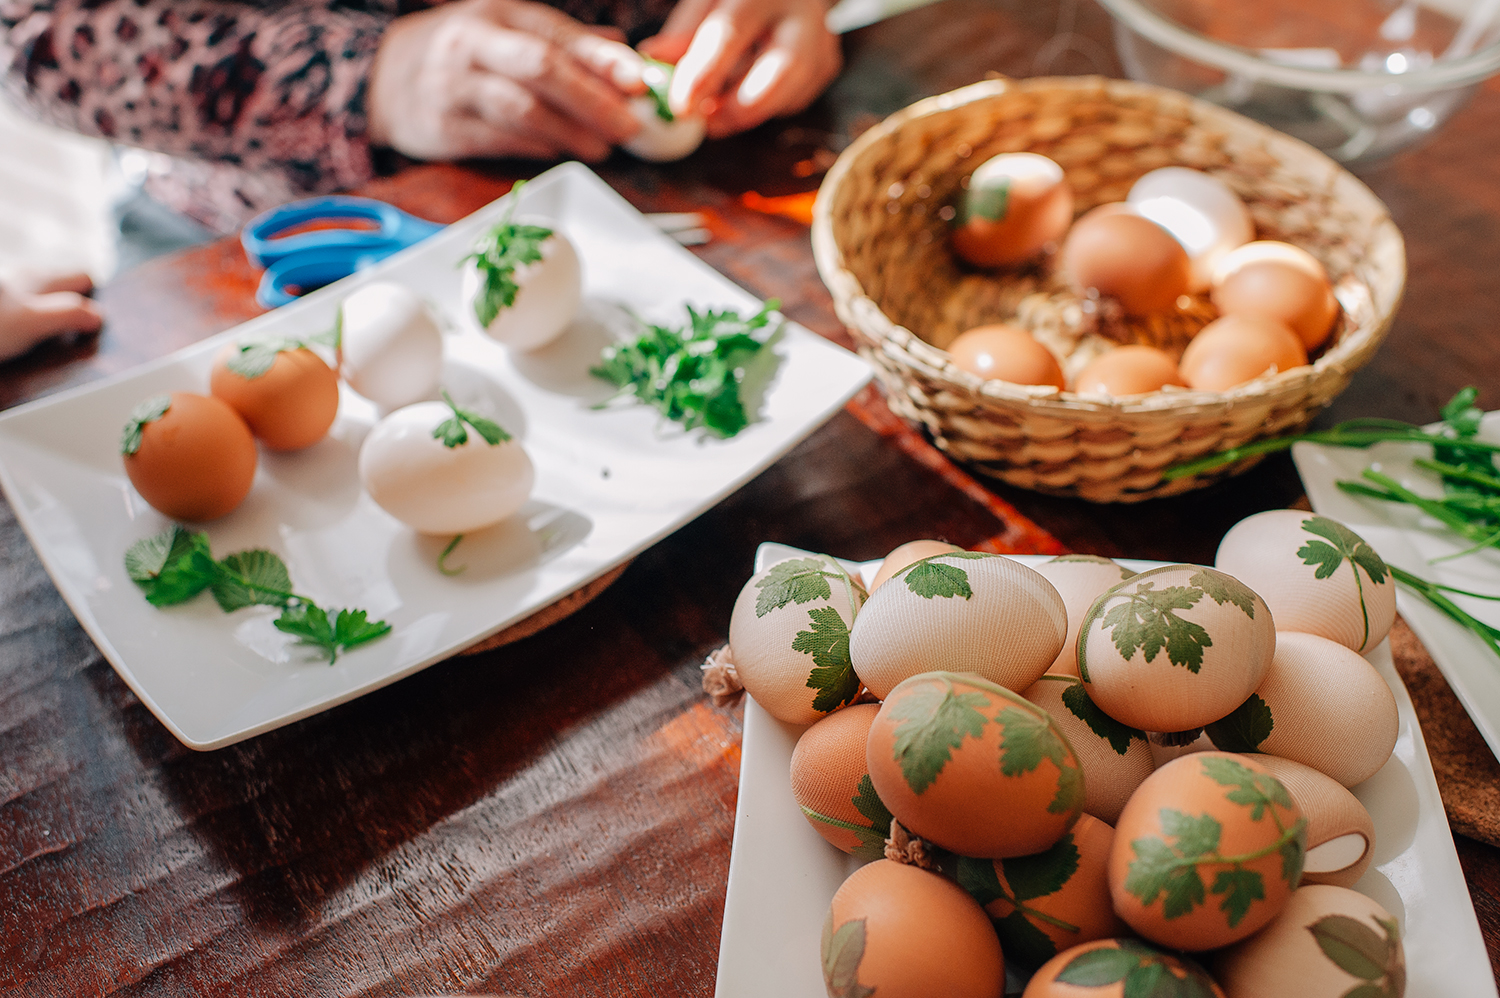
3. Meantime decorate and wrap the eggs. When applying the leaves, apply them wet - it makes it easier to get them to stick to the egg and they stay in place when wrapping them in the thin nylon stocking. Wrap each egg gently and tightly in the stocking, and tie the stocking around it. Cut the excess stocking and gently place the wrapped egg on a plate
4. Gently place the eggs in the pot with the onion skins, with the slotted spoon. Bring to a boil over medium heat.
5. When boiling, reduce the heat to low, cover, and simmer for about another 20 minutes. Remove from the heat.
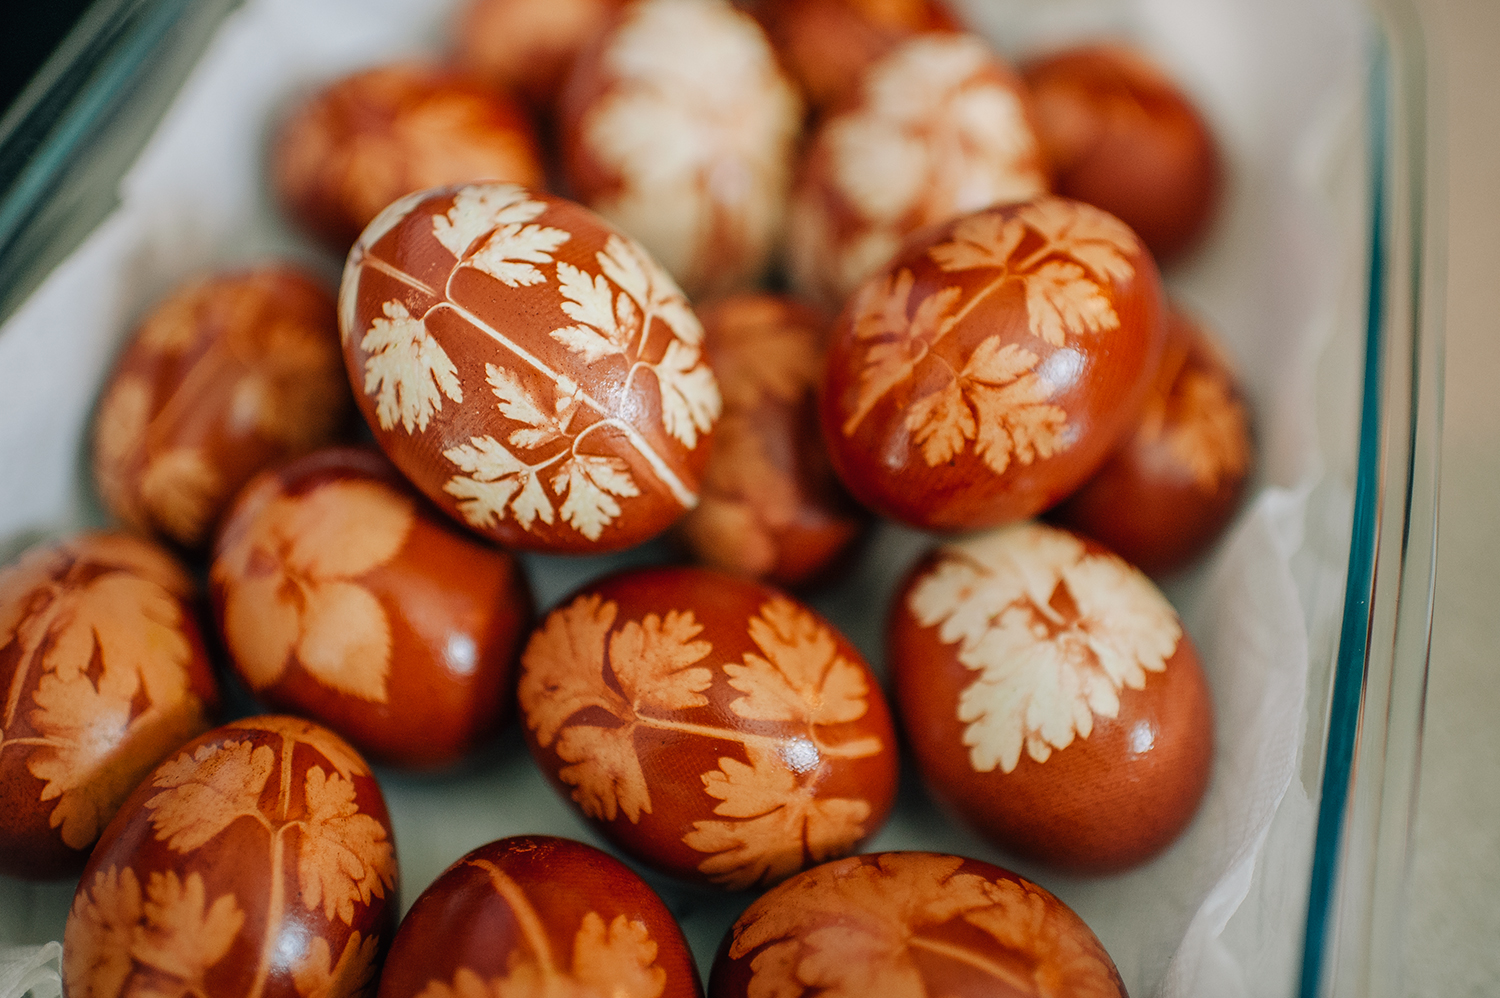
6. The longer the eggs sit in the dyeing liquid, the deeper the color.
If they are not red enough, allow them to sit in the warm liquid for at least 10 more minutes or until the desired color is achieved. You may even refrigerate them in the liquid overnight for a nice deep color.
(I don't remember mom ever keeping them overnight. She always seems to get the color just right. The few tablespoons of vinegar and/or the salt in the boiling water, will always help darken the color of the egg shells.)
7. Transfer each egg to a plate and cut the stocking with a pair of scissors.
Peel back and discard the herbs. Pat the eggs dry with a paper towel, or let them air dry on the plate or in a strainer.
Mom never seems to wait long for the eggs to cool off, as the plants tend to dry quick. It makes it hard to peel them off. However, if that happens, you can place the eggs in water again, so the plants get moist and easy to handle.
8. To add luster and close the pores of the eggshells, the eggs need to be smeared with a little olive oil, wax, bacon or unsalted butter.


And here is mom, wrapping one egg, with a step-by-step take. :)

I didn't take any pictures of the eggs being placed in the pot with the onion skins (or being taken out and unwrapped) but if you'd like to take a peek at that part of the process hop over to this past blog post.
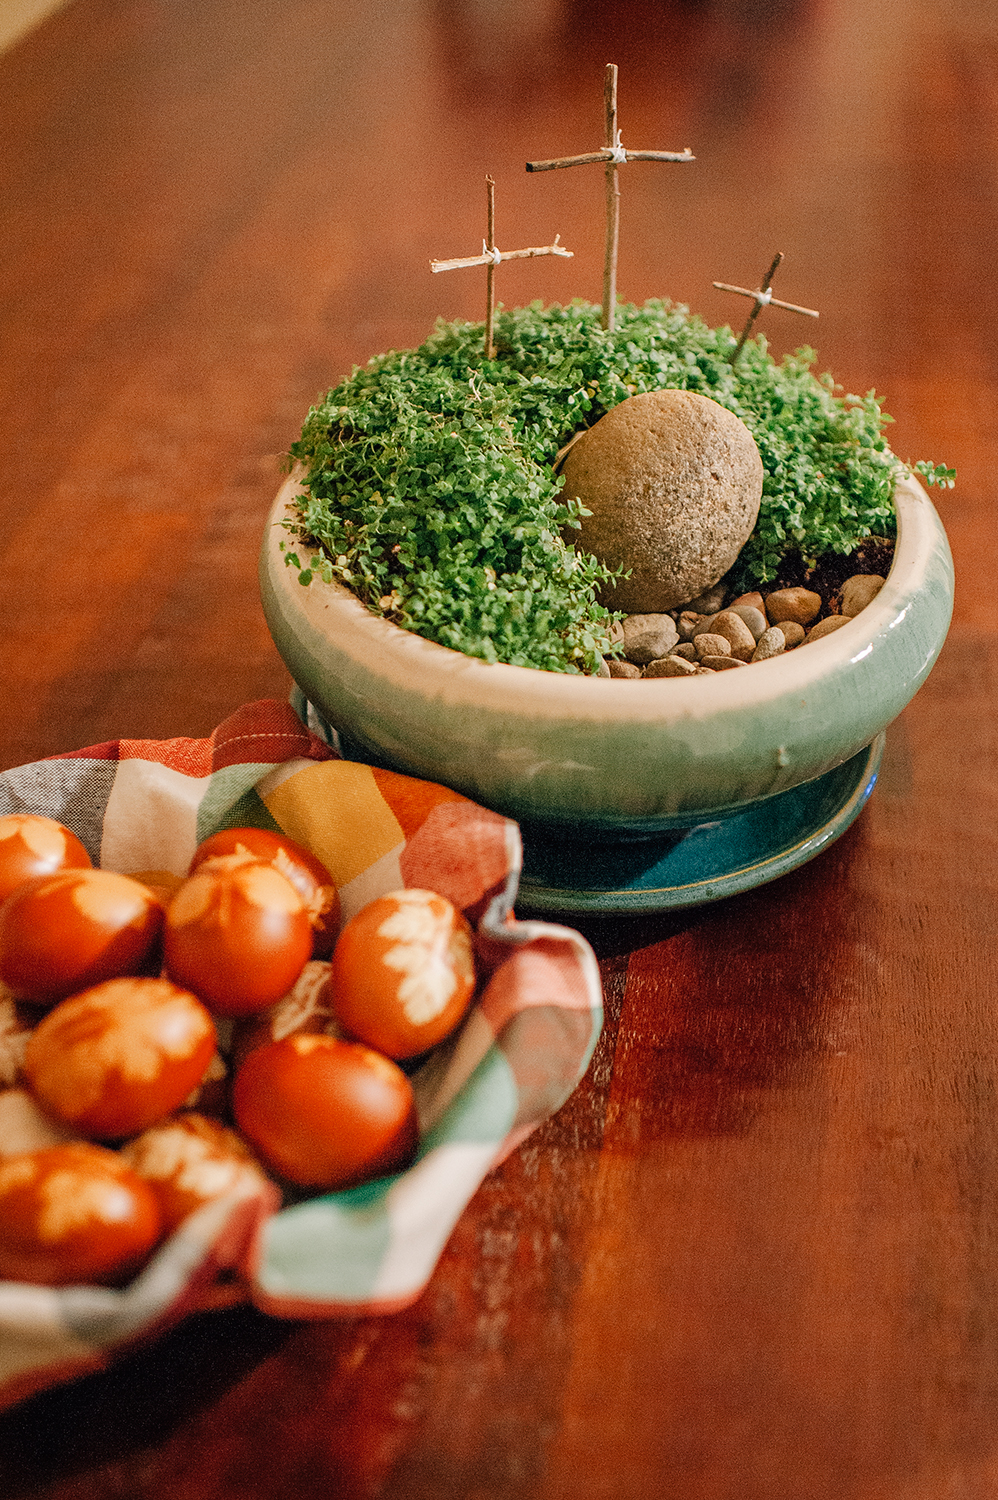
...Aren't they pretty? :)

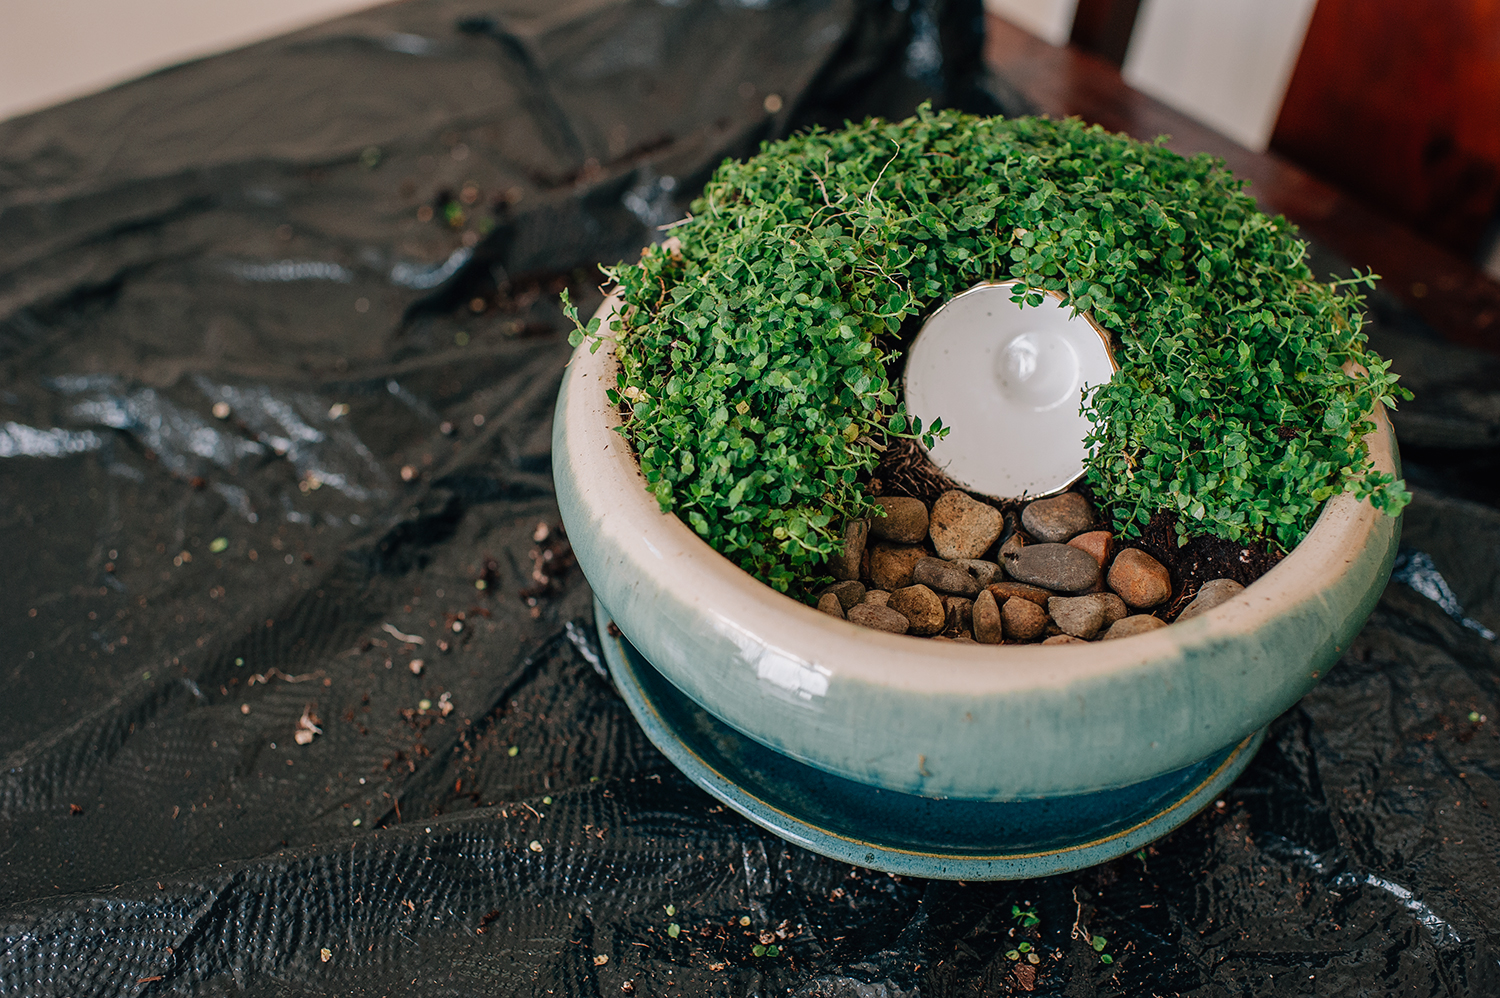
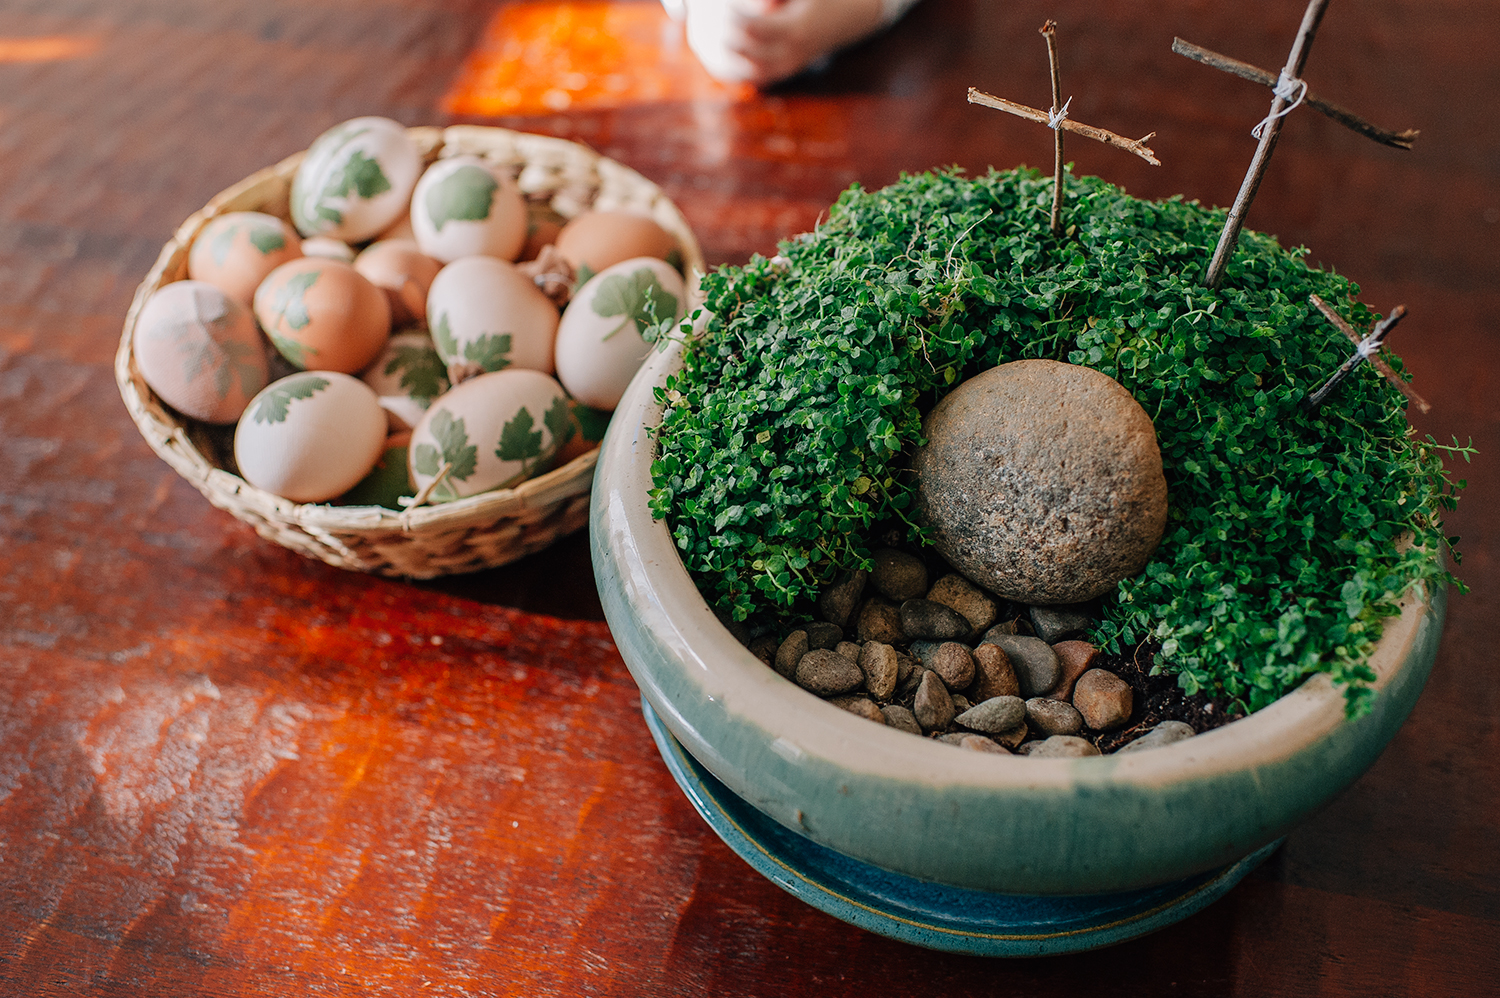
Along with our Easter Eggs, we also created a little Resurrection garden that we now keep on our little patio. I love looking at it all year long - and the reminder and meaning of it. My most favorite little memento :)
There are a number of posts floating around pintrest about how to make one, if you'd like a how-to.


Thank you for stopping by! Happy Easter!